
おはようございます。こんにちは。こんばんは。
Sanagiです。
今回はMyBatisを使ってDB操作する方法を書いていきたいと思います!
目次
前提
OS:Mac
Javaバージョン:21
Spring Bootバージョン:3.2.0
thymeleafバージョン:3.1.2
IDE:Eclipse
MyBatis導入
まず、MyBatipseをインストールしましょう。
(プロジェクト、データベース等はすでに作成されてあるものとします)
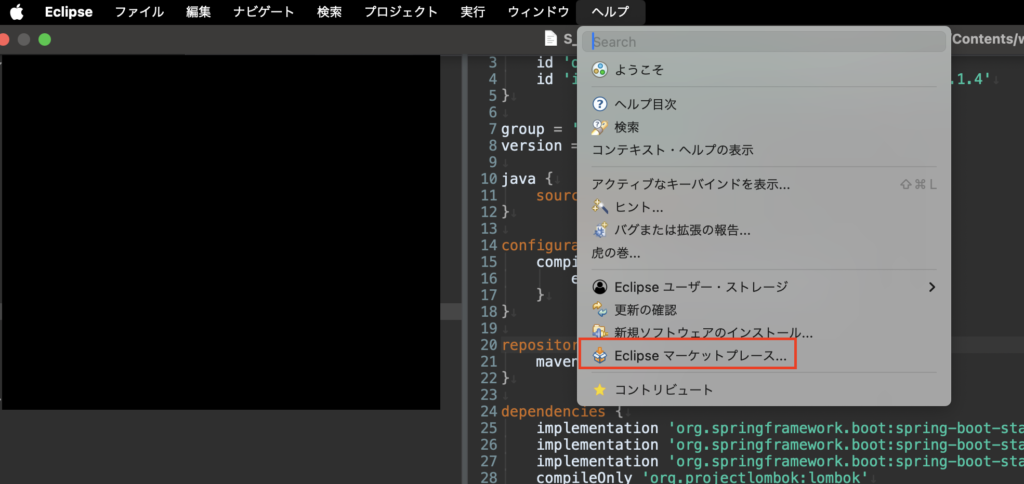
Eclipseを開いて、ヘルプ→Eclipseマーケットプレースの順に選択します。
MyBatipseと検索し、インストールします。
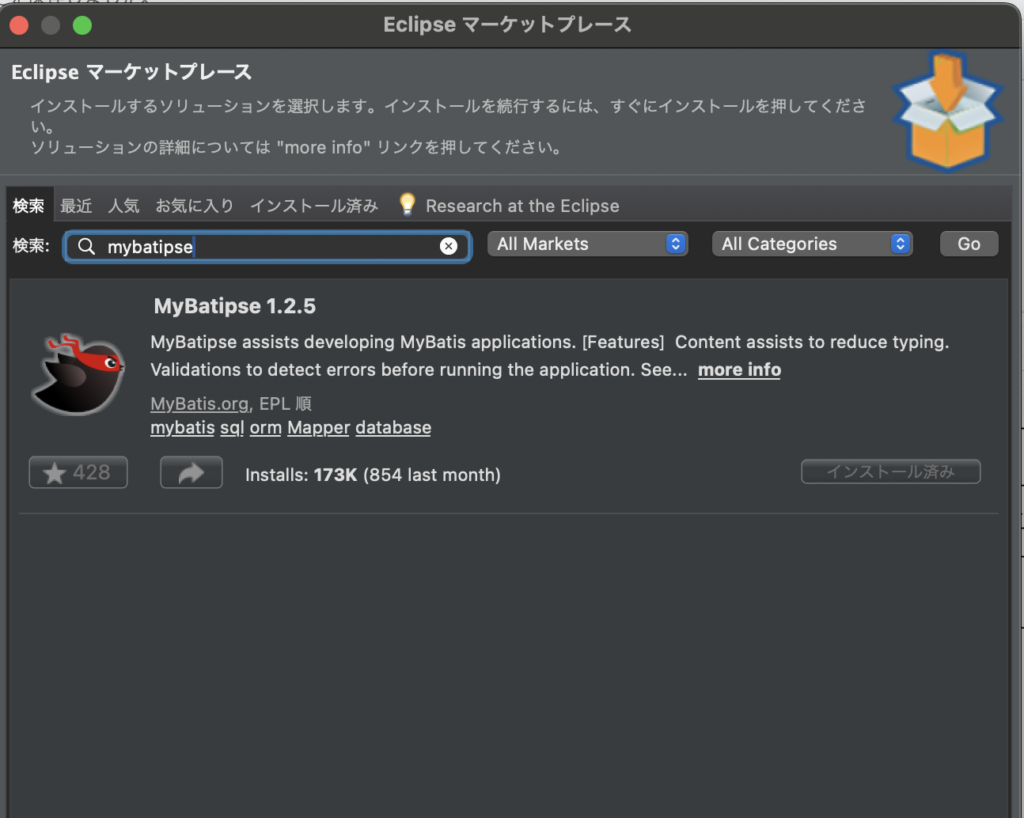
※画像ではインストール済みになっていますが、本来はインストールボタンが表示されます
インストールができたら、Eclipseを再起動します。
続いてgradleファイルを開き、以下の赤枠を追記します。
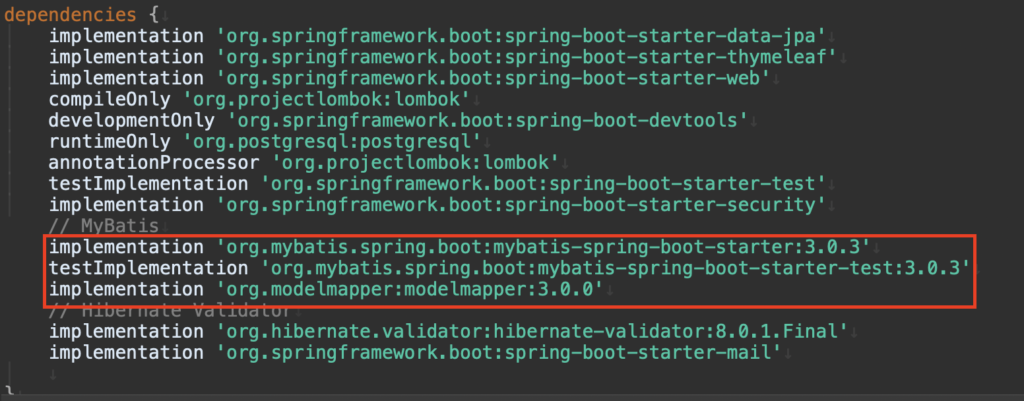
gradleを書き換えたら、プロジェクトで右クリック→gradle→Gradleプロジェクトのリフレッシュで更新しましょう。

それでも反映がうまくいかない場合は、プロジェクトクリーンをしてみましょう。※下記参照

DB設定
application.propertiesにDB接続情報を追記し接続設定します。今回はPostgreSQLを使用するときの書き方を例として載せておきます。

Configファイル作成
configファイルを作っておきましょう。
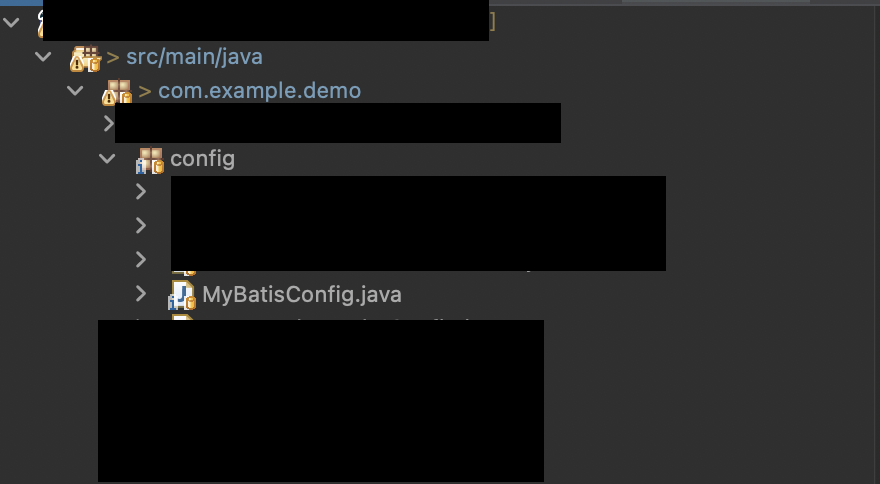
今回は例としてプロジェクト名/src/main/java/com/example/demo
の直下にconfigパッケージを作成し、MyBatisConfig.javaファイルを作成します。
こんな感じになればOK↓
中身はこちらを参考に。※現時点では不要な部分もありますが、とりあえずコピペでOK
MyBatisConfig.java
package com.example.demo.config;

import javax.sql.DataSource;

import org.apache.ibatis.session.SqlSessionFactory;
import org.modelmapper.ModelMapper;
import org.mybatis.spring.SqlSessionFactoryBean;
import org.mybatis.spring.SqlSessionTemplate;
import org.springframework.beans.factory.annotation.Autowired;
import org.springframework.context.annotation.Bean;
import org.springframework.context.annotation.Configuration;

@Configuration
public class MyBatisConfig {
    // アプリケーションがデータベースとの接続を確立するためのもの
    @Autowired
    private DataSource dataSource;

    //データベース接続やトランザクション管理を担当するオブジェクト
    @Bean
    public SqlSessionFactory sqlSessionFactory() throws Exception {
        SqlSessionFactoryBean factoryBean = new SqlSessionFactoryBean();
        factoryBean.setDataSource(dataSource);
        // その他の設定を追加可能
        return factoryBean.getObject();
    }

    //SqlSessionFactoryのラッパーで、データベースへの操作を提供するオブジェクト
    @Bean
    public SqlSessionTemplate sqlSessionTemplate(SqlSessionFactory sqlSessionFactory) {
        return new SqlSessionTemplate(sqlSessionFactory);
    }

    //ModelMapperはJavaオブジェクト間のマッピングを行うライブラリ
    @Bean
    public ModelMapper modelMapper(){
        ModelMapper modelMapper = new ModelMapper();
        return modelMapper;
    }
}
Modelクラス作成
DBからデータを取得するために必要なModelクラスを作成します。
今回は例としてプロジェクト名/src/main/java/com/example/demo
の直下にmodelパッケージを作成し、UserEntityクラスを作ってみましょう。
UserEntity.java
package com.example.demo.model;

import lombok.Data;

@Data
public class UserEntity{
    private String username;
    private String lastname;
    private String firstname;
}
※@Dataをつけることで、内部でゲッターセッターを自動生成してくれます。
プロジェクト名/src/main/java/com/example/demo/model/UserEntity.java
のようになればOK。
Mapper、Sericeクラス作成
プロジェクト名/src/main/java/com/example/demo/
にMapperパッケージとServiceパッケージを作成し、各パッケージに以下のクラスを作成します。
UserMapper.java
package com.example.demo.mapper;

import org.apache.ibatis.annotations.Mapper;
import com.example.demo.model.UserEntity;

@Mapper
public interface UserMapper {
    //ユーザー取得
    public UserEntity findByUsername(String username)
}
UserService.java
package com.example.demo.service;

import org.springframework.stereotype.Service;

import com.example.demo.mapper.UserMapper;
import com.example.demo.model.UserEntity;

@Service
public class UserService {
    private final UserMapper userMapper;

    public UserService(UserMapper userMapper) {
        this.userMapper = userMapper;
    }

    public UserEntity getUserByUsername(String username) {
        return userMapper.findByUsername(username);
    }
}
xml作成
続いて、xmlファイルを作成します。今回は例として以下にmapperパッケージを作成し、その中に作成します。
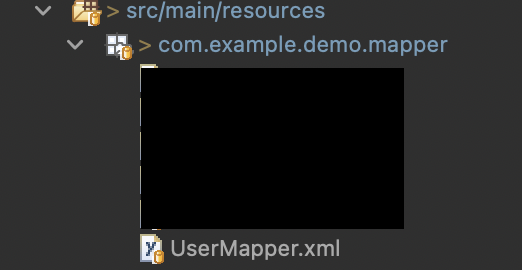
プロジェクト名/src/main/resources/com/example/demo/mapper
※resources〜 からは先ほど作ったmapperクラスと同じ構成する
ここでのxmlファイル作成手順ですが、パッケージ上で右クリック→新規→その他 を選択
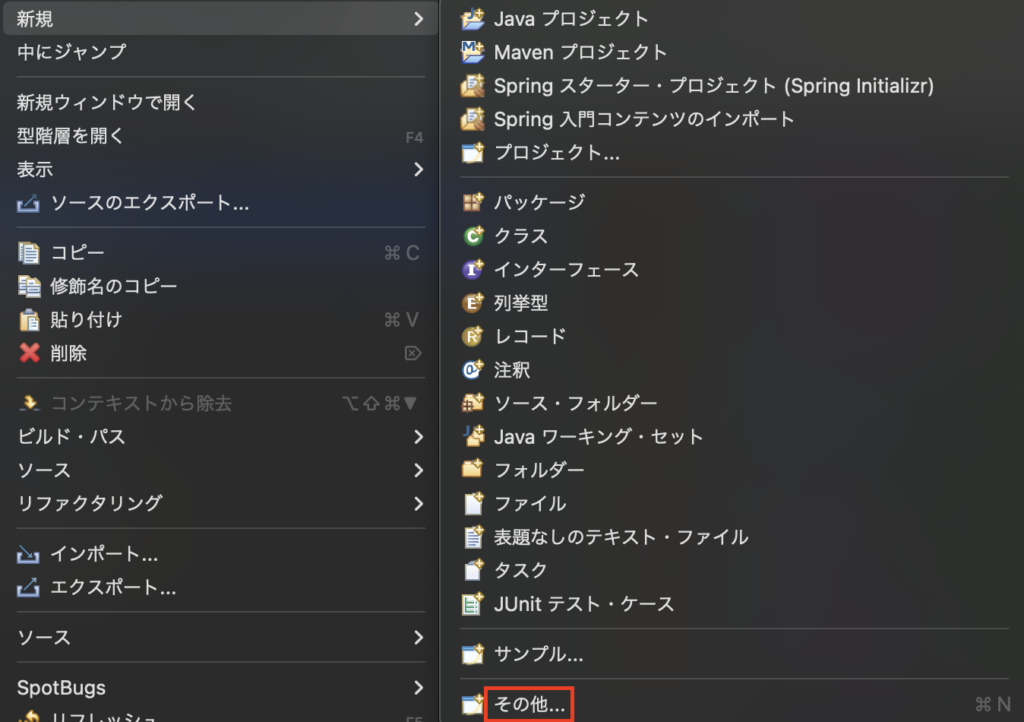
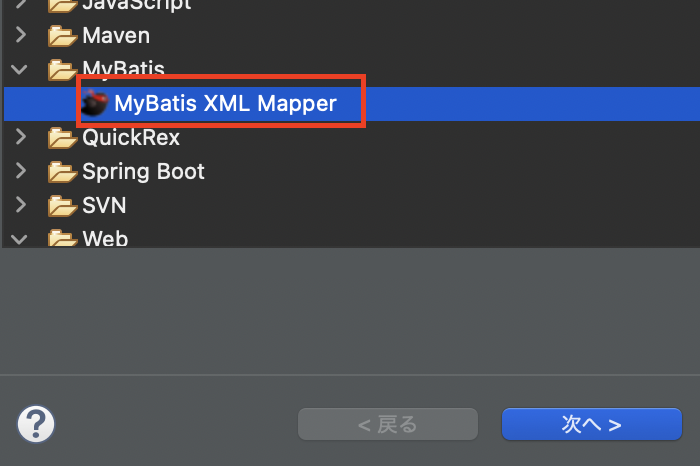
MyBatisの中にある「MyBatis XML Mapper」を選択し、「次へ」を押して名前を入力すれば作成完了。
今回はUserMapper.xmlを作成していきますので、以下のような構成になればOK。
以下参考
UserMapper.xml
<?xml version="1.0" encoding="UTF-8"?>
<!DOCTYPE mapper PUBLIC "-//mybatis.org//DTD Mapper 3.0//EN" "http://mybatis.org/dtd/mybatis-3-mapper.dtd">
<mapper namespace="com.example.demo.mapper.UserMapper">
    <select id="findByUsername" parameterType="java.lang.String" resultType="com.example.demo.model.UserEntity">
        select
	    username,
	    lastname,
	    firstname
        from user where username = #{username};
    </select>
</mapper>
html作成
データ操作・表示する用の画面を作成します。(かなり適当なので、好みに合わせて変更してもOK)
参考 ※thymeleafは既に導入されているものとします
user_get.html
<!DOCTYPE html>
<html>
<head>
<meta charset="UTF-8">
<title>UserGet</title>
</head>
<body>
    <form action="/userget-result" method="get">
	<div><span>ユーザー名:</span><input type="text" name="username"></div>
        <button type="submit">検索</button>
    </form>
</body>
</html>
user_get_result.html
<!DOCTYPE html>
<html>
<head>
<meta charset="UTF-8">
<title>UserGetResult</title>
</head>
<body>
    <div>ユーザー名:<span th:text="${username}"></span></div>
    <div>性:<span th:text="${lastname}"></span></div>
    <div>名:<span th:text="${firstname}"></span></div>
</body>
</html>
controller作成
続いて、controllerを作成していきます。
プロジェクト名/src/main/java/com/example/demo
にcontrollerパッケージを作成し、「SampleController」クラスを作ります。
参考 ※本来は該当するデータがない場合の処理等も必要ですが、ここでは割愛します
package com.example.demo.controller;

import org.springframework.stereotype.Controller;
import org.springframework.ui.Model;
import org.springframework.web.bind.annotation.RequestMapping;
import org.springframework.web.bind.annotation.RequestParam;

import com.example.demo.model.UserEntity;
import com.example.demo.service.UserService;

@Controller
public class SampleController {

	private final UserService userService;

	public SampleController(UserService userService) {
		this.userService = userService;
	}

	@RequestMapping("/userget")
	public String userGetPage(Model model) {
	    return "user_get";
	}

	@RequestMapping("/userget-result")
	public String userResultPage(Model model,@RequestParam("username") String username) {
		UserEntity user = userService.getUserByUsername(username);
                model.addAttribute("username",user.getUsername());
		model.addAttribute("lastname",user.getLastname());
		model.addAttribute("firstname",user.getFirstname());
		return "user_get_result";
	}
}
DBからデータ取得
これで、準備は完了です。実際に取得処理を行なってみましょう。
今回の取得先データは以下のようになっているものとします。
※DBの形としてはあまりよくない例ですが…
| username | lastname | firstname |
|---|---|---|
| sato1434 | 佐藤 | 二郎 |
| kato4352 | 加藤 | 太郎 |
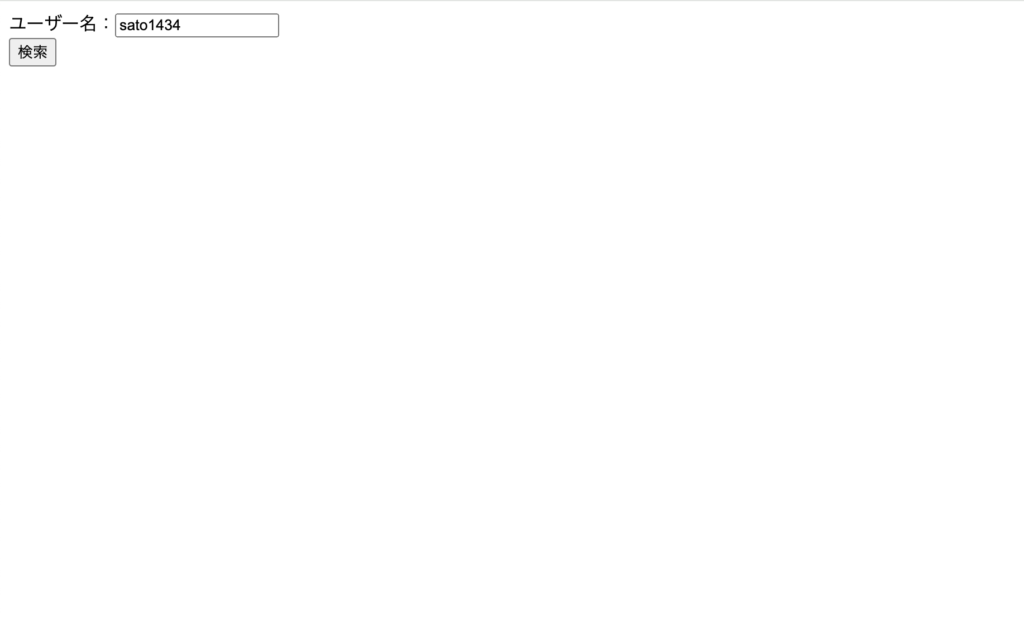
先ほど作成したuser_get.htmlを開きましょう。アプリケーションを起動し、以下URLを入力します。
http://localhost:8080/userget
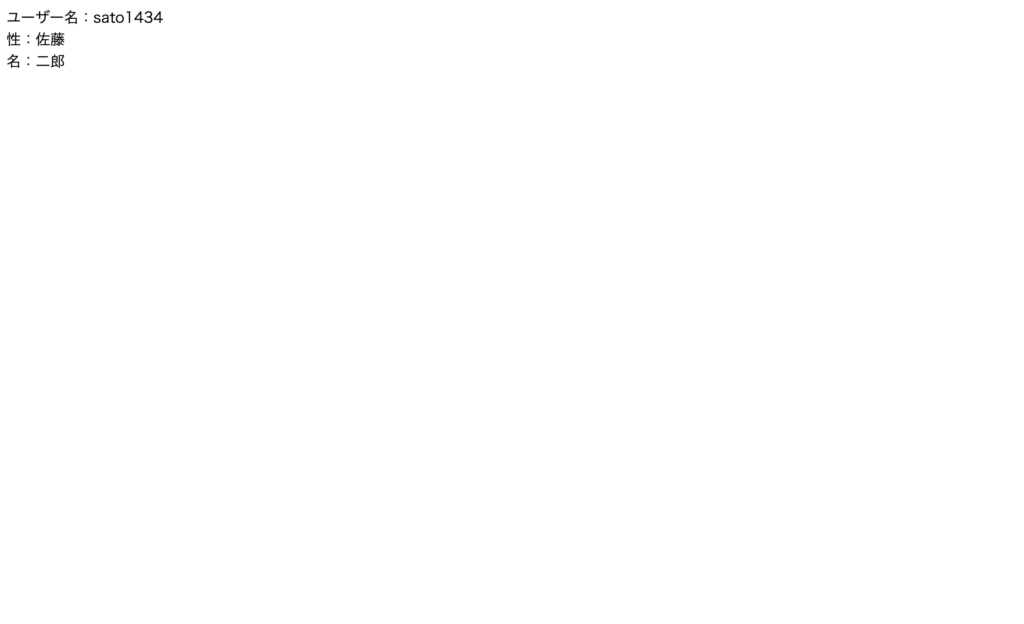
ユーザー名に「sato1434」と入力し、検索ボタンを押します。
user_get_result.htmlに遷移し、以下のように姓名が正しく取得できていれば成功です!
終わりに
いかがだったでしょうか。
今回はデータ1件だけ取得する方法をする方法を書きましたが、次回は全データを一括で取得する方法をご紹介します。(多分)